|
Sandbox 2 Manual
|
   |
   |
How to Set Up an Instant Action Multiplayer Level
|
Sandbox 2 Manual
|
|
|
You can also open one of the original Crysis levels in the Levels/Multiplayer/IA folder and use it as a base. This way you don’t need to import all the entities described in this document.
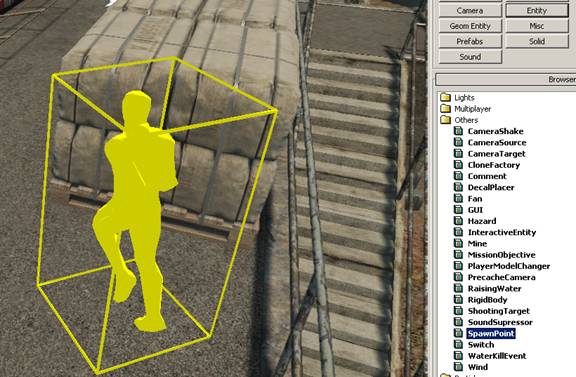
Drag some SpawnPoint entities into your level and rotate them so when player spawn they will have a clear view of their surrounding.
Drag weapon and ammo pickups from the Entities/Item list into your level:
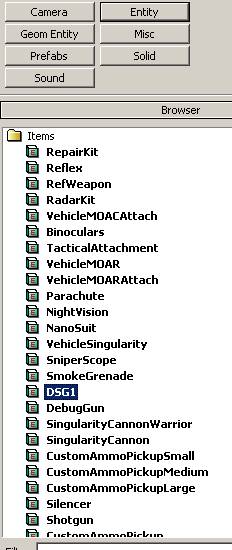
In the items properties you need to set:
For the initial setup you can choose default weapon configuration such as:
You can find predefined ammo pickups in your DataBase View when loading pickups_mp.xml

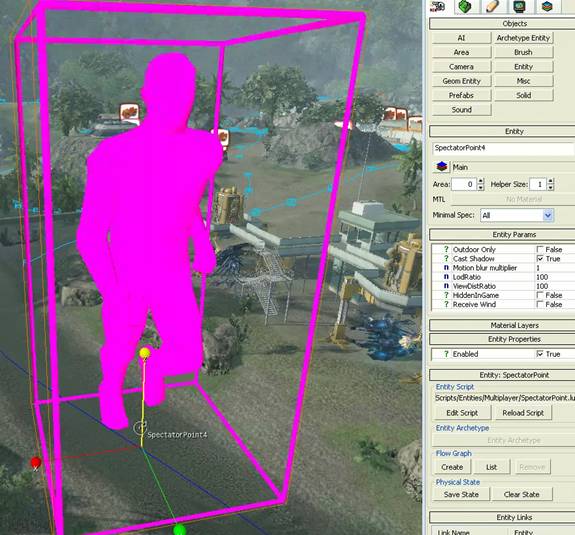
Drag and drop the spectator point entity from the multiplayer entities to important areas of your level.
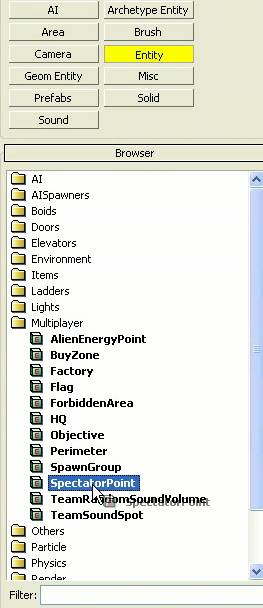
Rotate it so it the helper human body looks at key game play locations.
You can build a wall of solids around your gameplay area to block players from leaving. Make sure you assign the materials/special/collision_proxy_nomaterialset material to the solid so it’s only rendered in the editor and not in game mode:
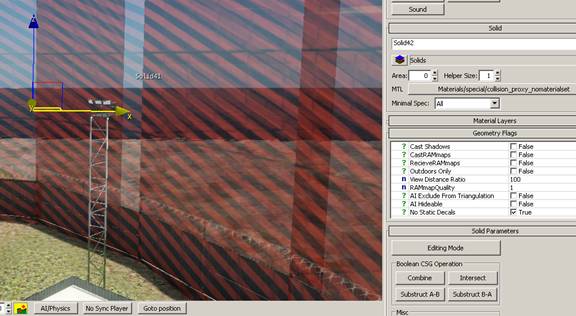
To see them in game mode, use this command: e_debug_draw 1
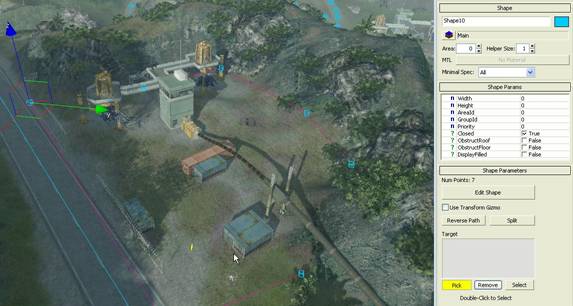
Create an Area Shape where you don’t want the player to walk around:

Then drag a Multiplayer/ForbiddenArea entity in your level:
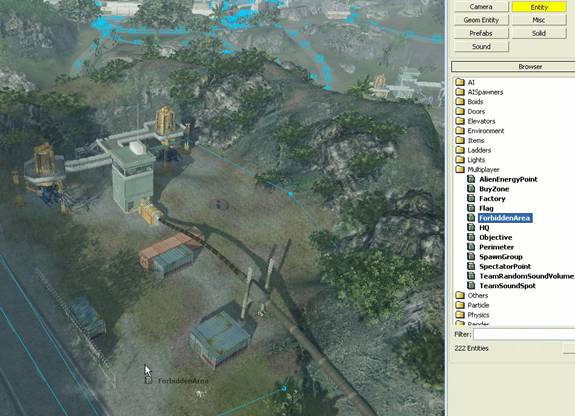
Select the shape and click the Pick button and select the ForbiddenArea entity:
Depending on the delay (in seconds) you set in the ForbiddenArea entity the player will lose healthpoints (set in DamagePerSecond) once he walks into the area:

Place the MiniMap helper into the section of which you want to take a screenshot from:

Click on the blue square and move it to the center of your level, then select Use New Mini Map Area:

Adjust the camera height so it covers the complete area where you want the screenshot to be taken from, select a 2048 pixel resolution, then hit Generate MiniMap

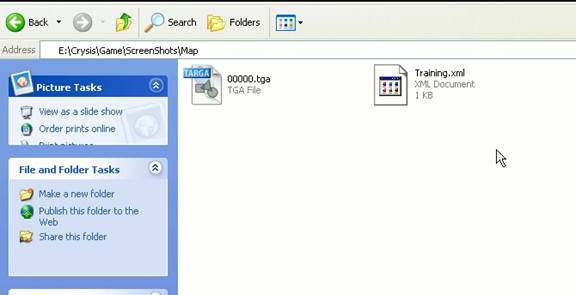
In your Crysis/Game/Screenshots/Map folder two files will be created: 0000.tga (the screenshot) and 0000.xml (the coordinates).
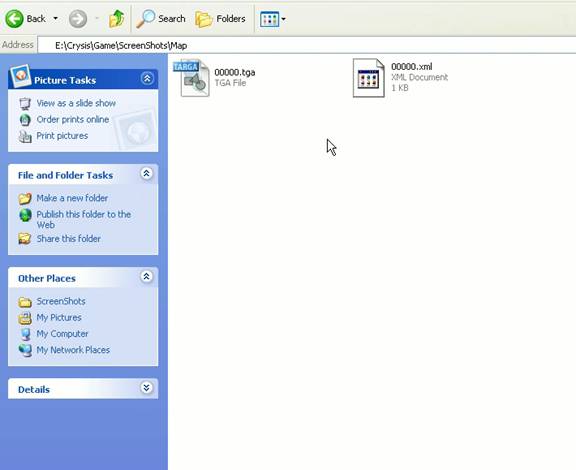
Let’s rename the 0000.xml to Training.xml (the name of your new level)
The xml always must have the same name as your level folder!
Then copy it over to your level directory:

Now edit the xml in notepad by adding the metadata and game rules section (don’t change the startX to mapRadius section as the editor has already created this for you):
<MetaData>
  <MiniMap Filename="00000.TGA" startX="698.318481" startY="554.986023" endX="1522.318481" endY="1378.986084" mapRadius="50" />
  <Gamerules MP1="InstantAction"/>
  <LoadingScreens screen1="training_Loading.dds" />
  <HeaderText text="training" />
  <DescriptionText text="This is a test map" />
  <Display Name="training" />
MiniMap Filename = name of the screenshot which will be used for the minimap (has to be inside the same folder as the xml)
startX/startY/endX/endY = coordinates (always use the automatic generated coordinates)
mapRadius = visible radius of the radar
Gamerule s = use PowerStruggle or InstantAction
LoadingScreens = name of your loading screen
HeaderText = name of the map in the loading screen
DescriptionText = map description in the loading screen (Use the unicode 
 to make a line break)
Display Name = name of the map in your server creation menu
When you play the game you should see the new MiniMap by pressing TAB key:

