|
Sandbox 2 Manual
|
   |
   |
How to Create a Simple Voxel Object
|
Sandbox 2 Manual
|
|
|
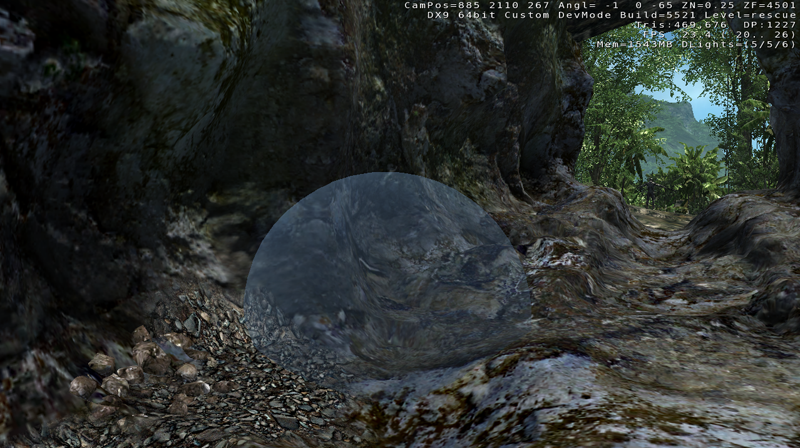
This tutorial will show you how to create an overhanging cliff and a cave using voxel technology.
Voxel Technology allows you to create complex 3 dimensional organic meshes in the editor. It is exposed in the editor through the use of Voxel Objects, or “VO”.
Every Voxel Object(VO) has an internal 3D grid of voxels (usually 32x32x32 elements). Every element contains information such as if the unit is full or empty, what surface type is being used and what the base color is. This array is used as input for the mesh generator.
During editing the designer modifies an array of voxels and every change causes re-generation of mesh so the designer receives immediate visual feedback. VO can be used in both outdoor and indoor situations.
VO can be used together with your heightmap to improve the look of your terrain. It is possible to model entire terrain purely using VOs, but it is much more efficient in memory usage and rendering speed not to. Rather, it’s best to model most of the terrain with a heightmap, and then use VOs to add nice features to it.
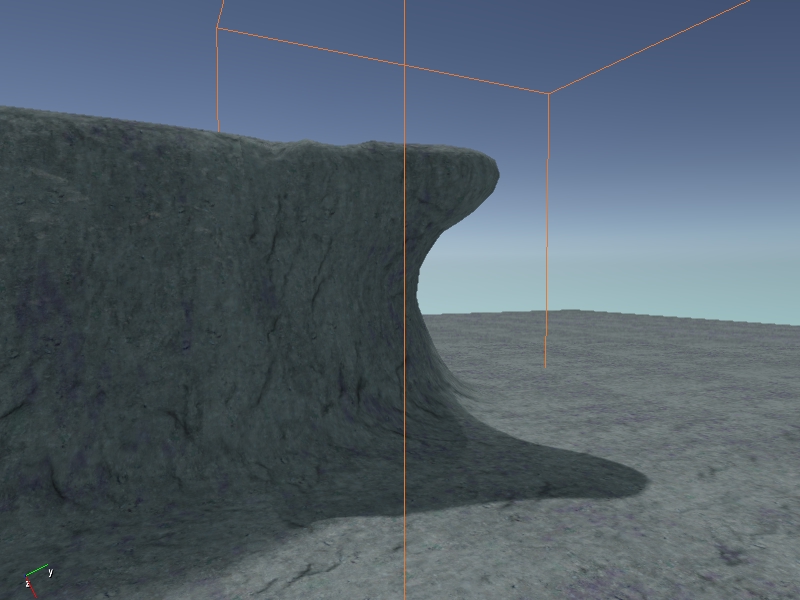
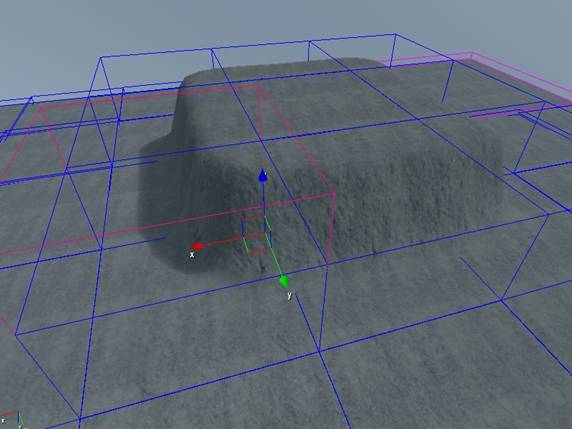
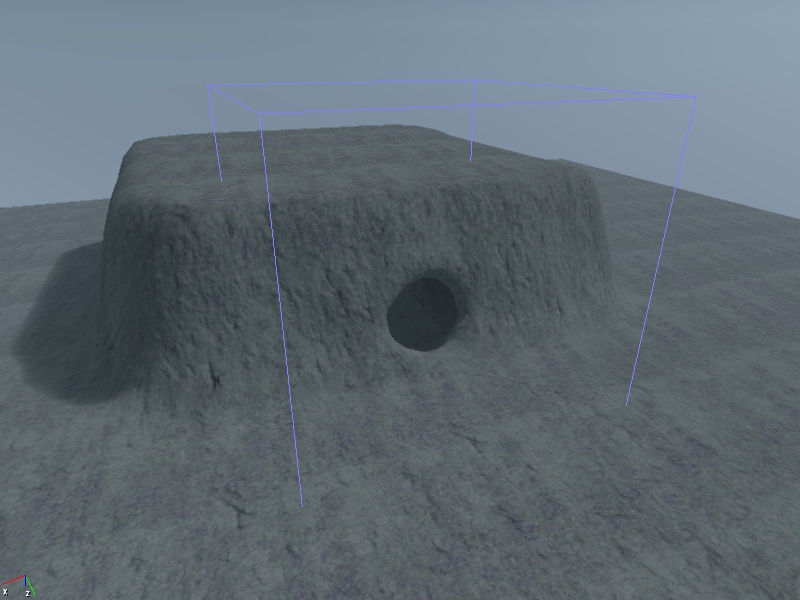
So, let’s create a cliff like the above in a level. Let's say we already have a hill which looks like the next image.

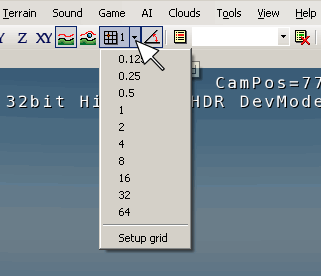
To create a seamless integration between your VO and your heightmap, you need to align the VO to the hightmap’s grid sectors in the X and Y position. The simplest way to do this is to activate Snap to grid before placing the VO. The size of the grid should be set to 64 meters, which is the size of a terrain sector.
It is also useful to turn on the visual display of terrain sectors grid by typing e_terrain_bboxes 1 into the console. This will cause blue bounding boxes depicting the terrain sectors to appear in the perspective viewport.
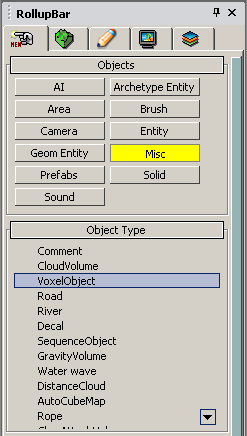
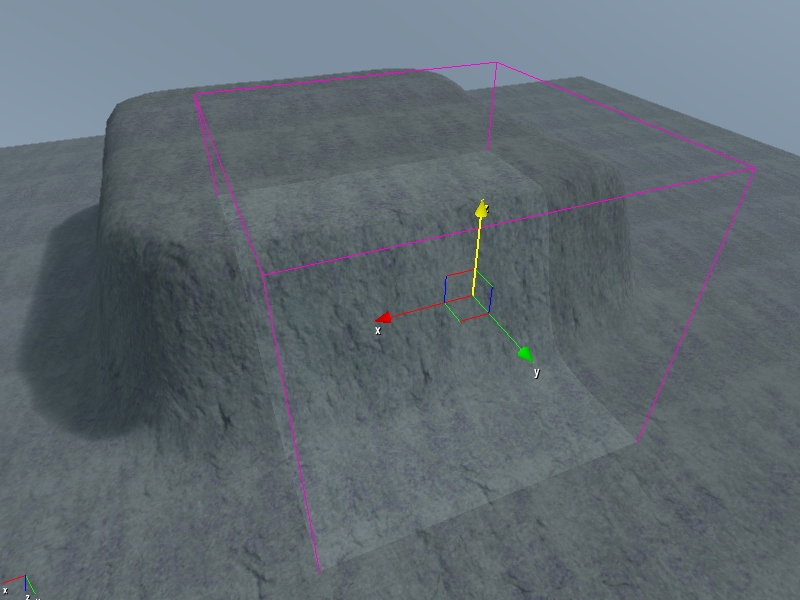
Now, go to the RollupBar and select Misc and then VoxelObject, and place a new VO into your level.
Initially, your VO will be empty and you will only see its empty red box helper object.
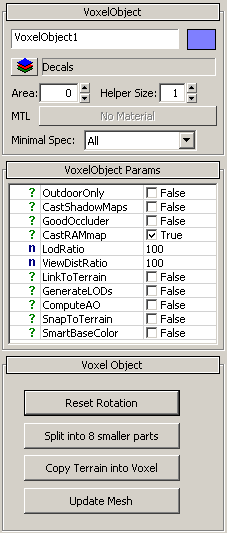
Now, we need to make the VO render the terrain surface instead of the heightmap engine. Select the VO and activate the LinkToTerrain checkbox in the VoxelObject parameters. Visually, there should be no difference apart from the blinking of your currently selected VO.
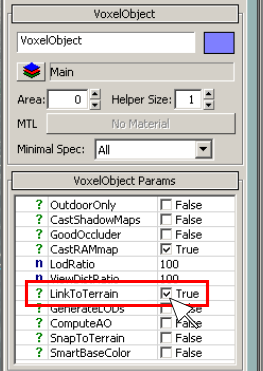
Technical information: the LinkToTerrain option does not copy your heightmap data into the voxel array. It just enables the usage of the heightmap during VO mesh generation. This way, you can still use the heightmap editor and layer painter in your voxelized area. Copying of heightmap data into VO is also possible, and we will cover this in the next example.
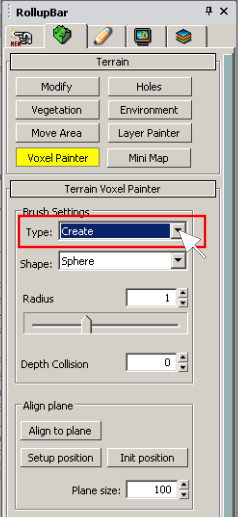
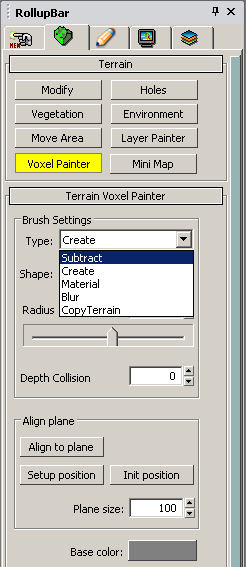
In the RollupBar, go to Terrain Voxel Painter, and in Brush Settings, set the type to Create. Now, start adding overhanging geometry to the top edge of the cliff by following these steps:
Click to create new geometry.
Resize your geometry by adjusting the Radius slider.
Using the Align Plane functions is good for controlling the geometry you create. First click Setup position, move and rotate the plane where you want to, then click Align to plane. Now, paint your voxel on the plane.
Use the Brush Setting Type Blur to remove sharp edges.
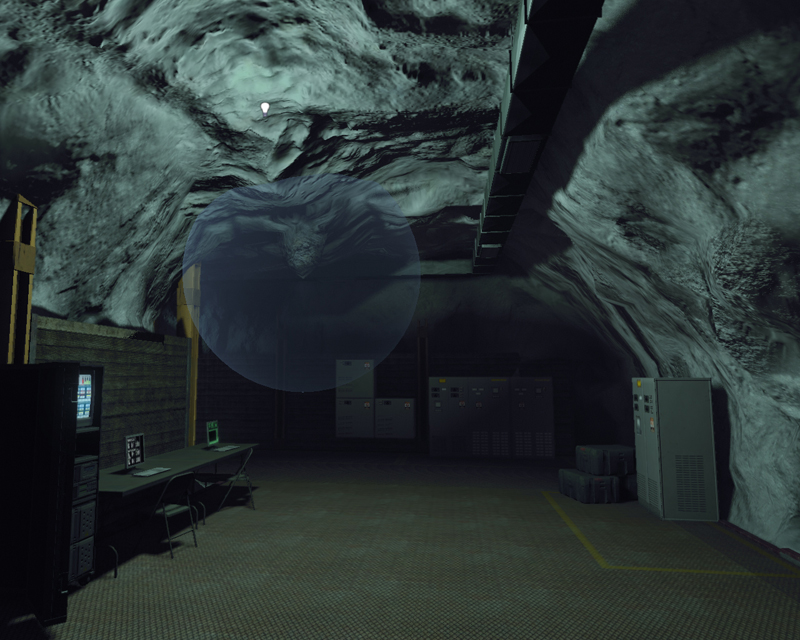
Let's say we want to make a cave in the same small hill.
Firstly, place a VO over the desired area, as you did previously. Since we want to go under terrain surface we need to tell the game’s physics engine that we want to have a hole here.
In the RollupBar, go to Terrain and then Holes and make a hole in the area where you want to make the entrance to your cave. Please note this is only a change in your heightmap, and not the VO.
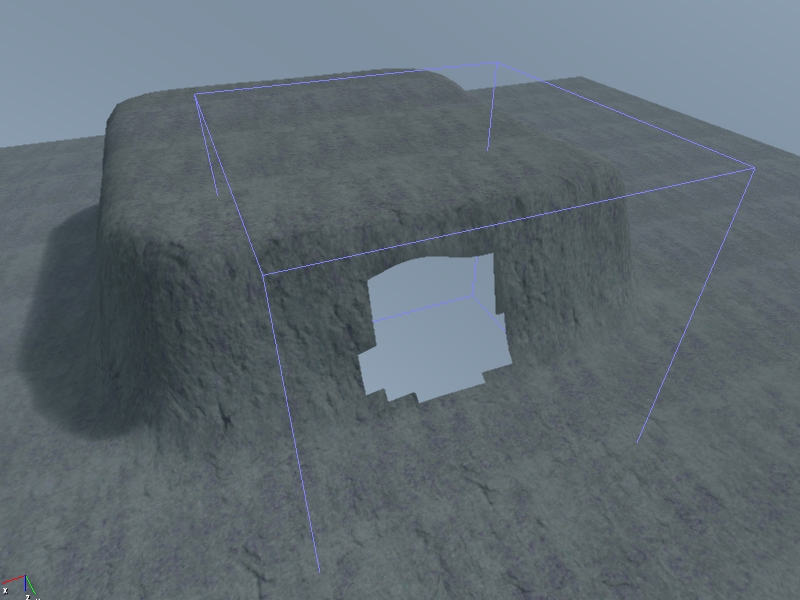
Here comes the difference from the previous example. LinkToTerrain option will not allow us to create a hole under the terrain, it only allows you to add features on top. Instead of using LinkToTerrain, we will use copy heightmap data. This way we will get full control over this area using the Voxel Painter tool.
Select VO and press Copy Terrain into Voxel button in the VO properties. The hole in the heightmap we painted earlier will be not visible anymore – the VO has covered over the original (hole-less) terrain sector.
Now we can start making the cave. In the RollupBar, open Terrain and then Voxel Painter, select brush type Subtract. Make a cave by keeping click holding while moving on the area where the hole should be. Again, using the Align to plane function here can be useful.

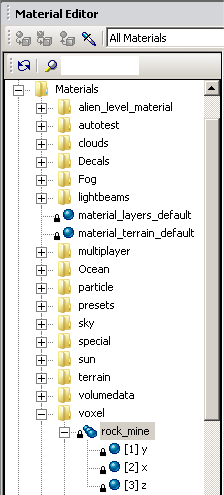
In the same way as cliff materials are used for usual terrain painting, materials that are painted on voxels should have 3 submaterials, one for each of the xyz axis.
So as a base let’s use the following material:
Open the material editor and select materials/voxel/rock_mine.
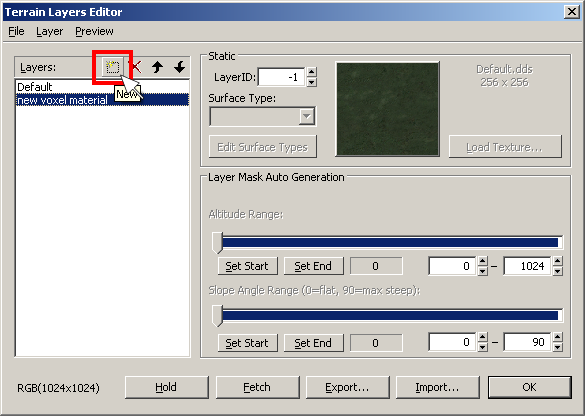
Make a new layer in the Terrain Layers Editor window.
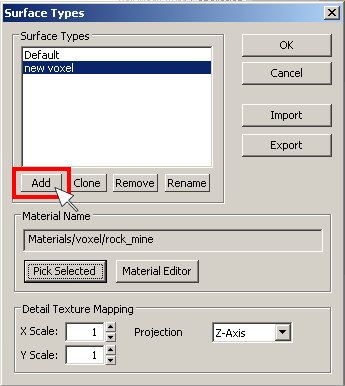
Click Edit Surface Types.
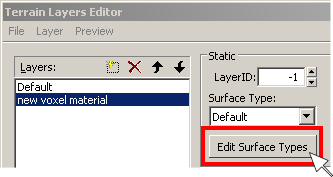
Make a new Type.
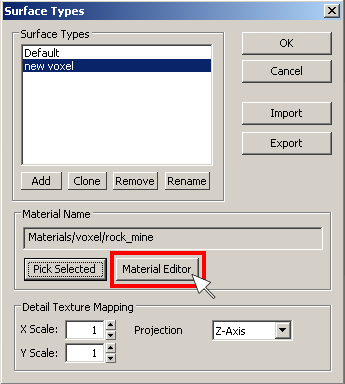
Enter the materials editor and select your material.
Close the material editor and click on Pick Selected.
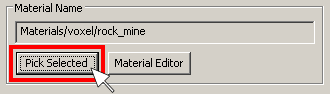
Now you can select the new voxel material in the surface types list of the voxel tool.
As you can see, with practice, you can create great results, by making voxel additions to existing terrain, creating holes and caves, or complete stand alone voxel levels.