|
Sandbox 2 Manual
|
   |
   |
How to Create a New Map
|
Sandbox 2 Manual
|
|
|
The maps in the game Crysis are all based on real height-maps to get a realistic looking landscape.
In the File menu click New.

Enter a name for your level in the Level Name dialog box, then click OK.

When you click OK, the editor will create a new folder in your levels directory named after your map, containing all the necessary files. The most important file in that directory is the .cry file, which contains all the major information for the editor.
To create some terrain click Edit Terrain from the Terrain menu.
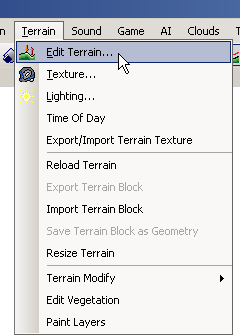
Next click Generate Terrain from the Tools menu.

You can also access the Terrain window by clicking on the Terrain button, by default found in the main editing toolbar.

This will open the Generation window, where you can with the following parameters influence the appearance of the terrain:

The default settings should be fine, so click OK. After generation is completed, you should see something similar to this:

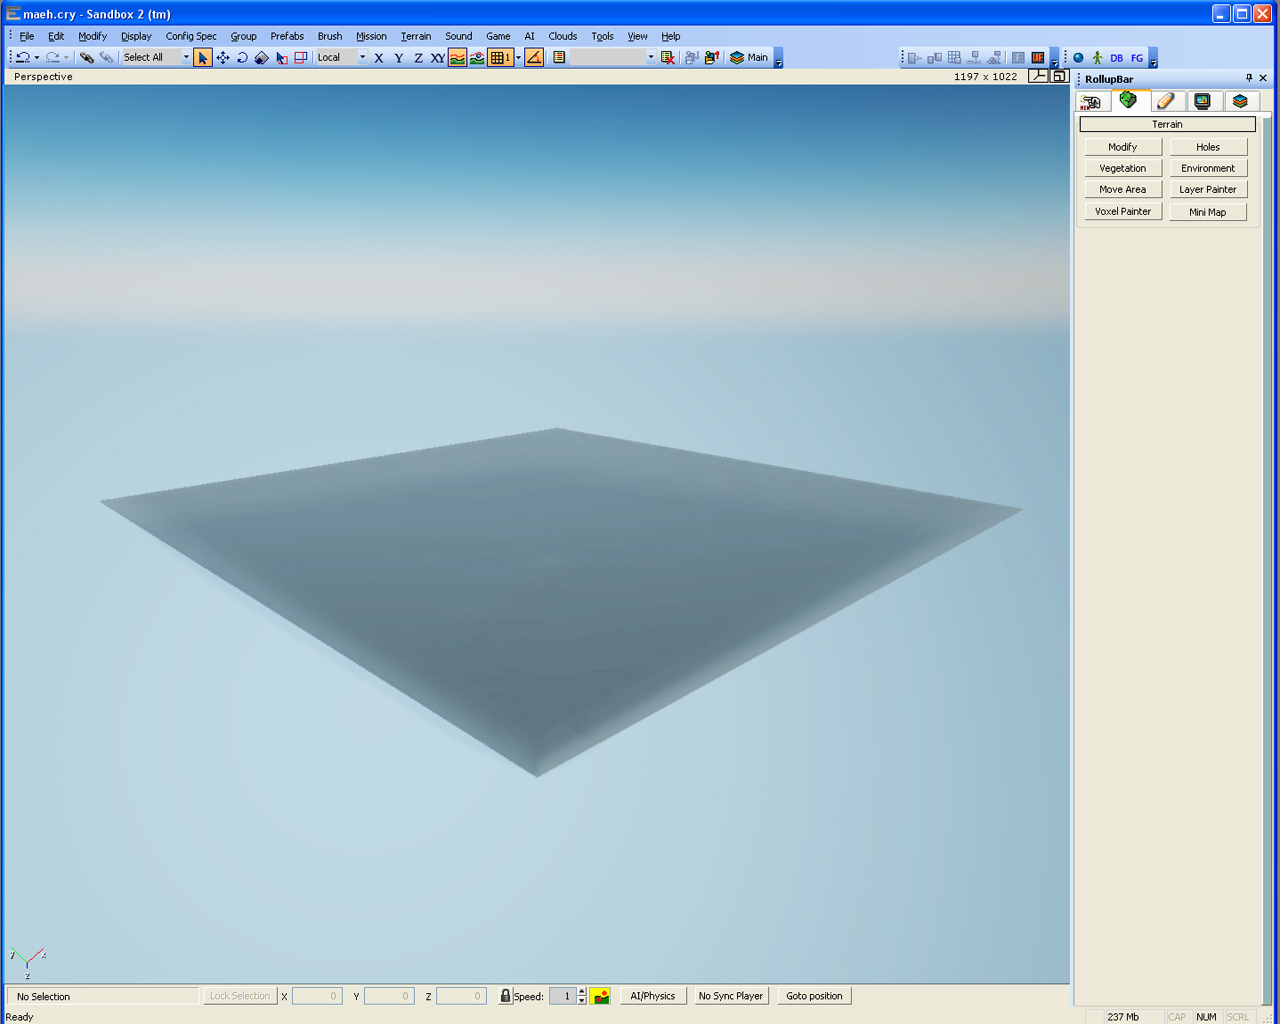
Now, close the Terrain window by clicking OK and you will see the changes in the 3D view.
The terrain is now shown in grey, which resembles the height of the terrain. The brighter the terrain is the higher it is. The blue water texture hides all terrain that is below sea level giving you a correct impression on the actual landmasses.
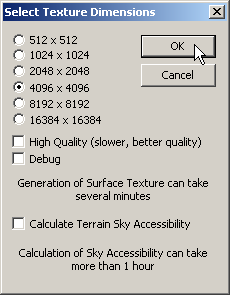
To get a first impression with a default texture applied, you need to regenerate the surface texture of the terrain.

Click Generate surface texture from the File menu.

The dialogue box below will appear - you don’t have to set anything, but you can select High Quality if you want (it takes longer but you get higher quality). Click OK and wait until the calculation is finished.
Your view should now look similar to this, showing you a first impression of your landscape.

Things to experiment with: