How to export a head with morphs
This tutorial show you how to export a head with morph targets using 3Ds Max.
Preparation
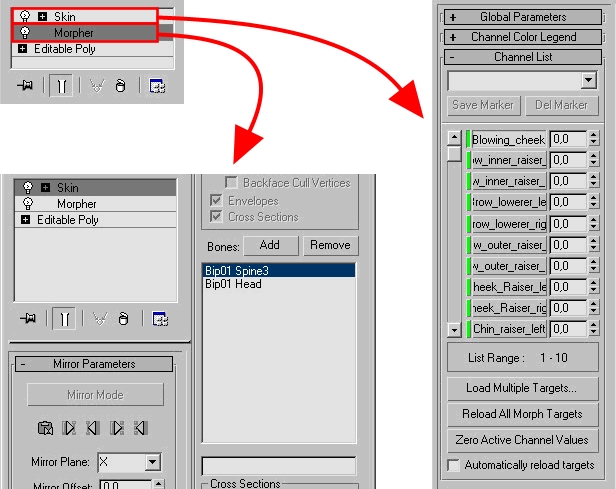
Assign a skin modifier to your main mesh with the neutral facial expression. Now you have to add all the morphtargets to the skin modifier. Later you can control these morphs in the facial editor of sandbox2. The last thing that you need to add is a skin modifier. Add the spine3 and the head bone to the skinmodifier. We need these bones, to rotate the head in the engine. Make sure they are properly weighted.
Export Settings
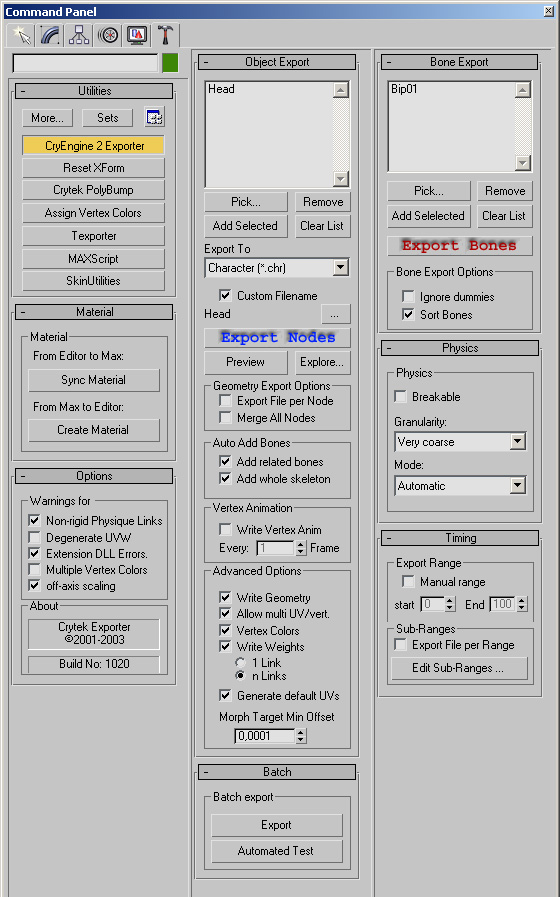
Now can switch to the CryENGINE®2 Exporter to export your head. Simply add the head with the modifiers to the export list. Chose chr as the file format. If you want to export the head with a different filename than the maxfile, select “Custom Filename” and click on the button on the line below to choose in the filename. Finally press “Export Nodes” to export your head
Optimizing
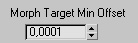
“Morph Target Min Offset” shows you the minimum offset value, which a vertex need, to get exported. If you use a very low value like 0.00000000001 the chr filesize will be very huge, because every vertex of every morph gets saved. If you use a high value like 5, no of the vertices which have a smaller value as 5 will be exported. 0.0001 is a recommended value which works in most cases.
Note: If you just see one number behind the colon, you can go to Customize> Preferences> General Tab. There you will find Spinner properties. Set precision to 5 decimals.
The last thing which is important for you is to check if Bip01 exists in the bone export list. If you get error messages of the sorting of the bones, you can activate “Sort Bones”.